Requires:
- The Nightsister Headdress Pre Quest
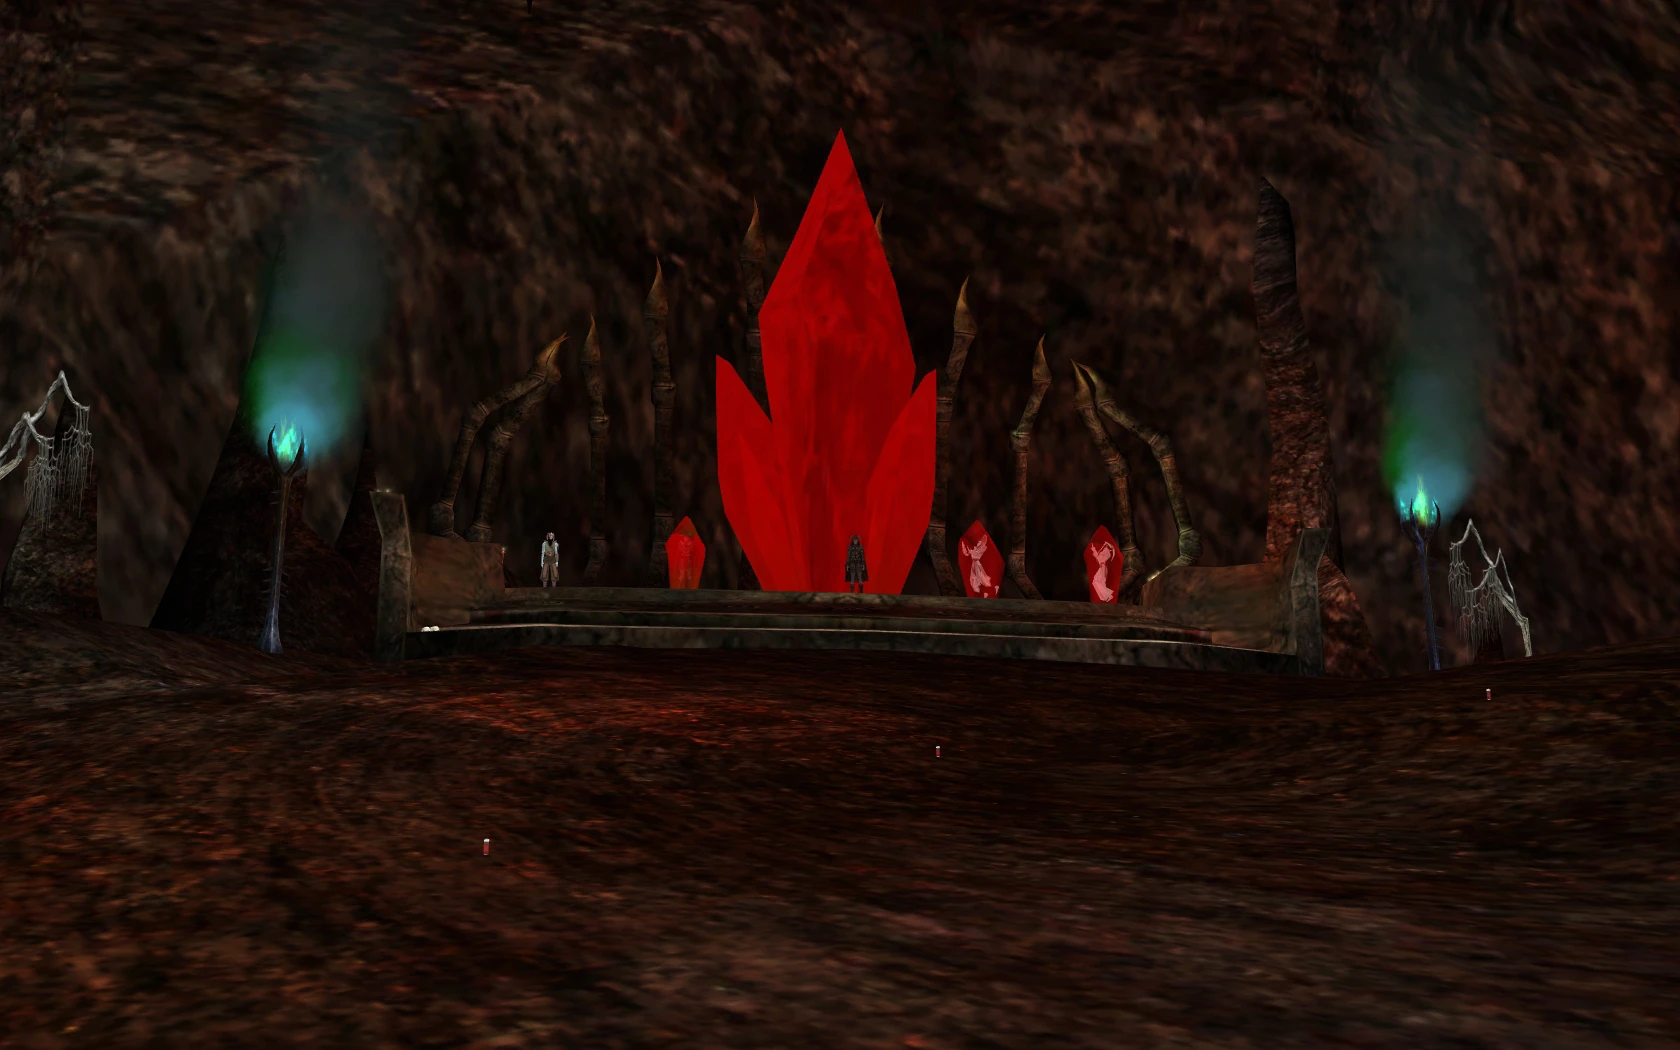
Axkva Min's Banishment Chamber and Crystal
Axkva Min is the Heroic Encounter that was added in Chapter 7 to replace the previous Axkva Min , who, prior to Chapter 7, only spawned once per server reset. The pre-quest to receive the key to the Axkva Min Heroic Encounter (The Nightsister Key of Exile) is the longest of the other Heroics at this time, and slightly more difficult as well. The Heroic Encounter itself is not difficult with the right group and the right tactics, but finding both of these is sometimes the biggest issue. A good team is generally composed of 2-3 Jedi, one Medic, and a good mix of other DPS classes. If possible, vary the professions so that each player's debuffs will stack—they're VERY important. Once you have this done, run or fight your way to the bottom of the Rancor Cave outside the Nightsister Stronghold POI on Dathomir, where the entrance to the Heroic is. As soon as you load in, you will have started the Heroic Encounter and your 1-hour Lockout Timer will begin.
Reminder: During Phases 1-4, do NOT go back into the tunnel during combat. The Eternal Warden guards the tunnel and will pretty much incapacitate you instantly if you go back in. Then, when you stand back up, he will incap you again, which means death. Try to stay away from the tunnel whenever possible during combat. If someone dies and needs to re-enter, let them know after a phase has ended so that they can safely come back in. For Entertainer buffs for this Heroic, Energy resistance is not necessary as all the NPCs deal kinetic damage. Save the five buff points for something else. Also, players who die can clone and come back in if the Medic has died or is unable to rez immediately. Be sure to have a camp with a shuttle beacon near the entrance to the cave for convenience.
Phase 1: Nandina and Gorvo[]
Level 91 - Boss
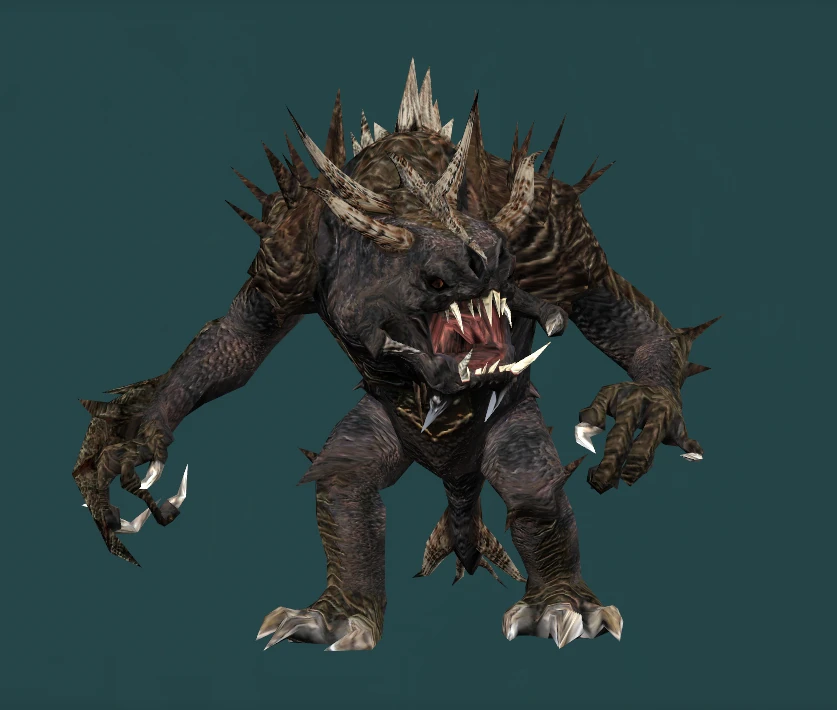
Gorvo
Before you begin, make sure that everyone is buffed and ready to go.
Nightsister Witch Nandina, and her pet Rancor Gorvo are already spawned in the back of the Chamber when you enter. The two share a hate list (meaning that generating aggro on one will automatically aggro the other), and also share a buff which allows Nandina to heal Gorvo for a massive amount of health.
One Jedi aggros Nandina. As this happens, the first Medic puts Stasis Field on Nandina and Bacta Corruption on Gorvo in order to dramatically drop its capability to receive the massive heals provided by Nandina. The group nukes Gorvo with maximum DPS while the Medics cycle Bacta Corruption on him. The Jedi need to maintain aggro on Nandina and attempt to draw her away from Gorvo. Keep Gorvo debuffed and he should go down.
Once Gorvo is dead, Nandina is an easy target to nuke. When both are dead, return your group to the edge of the bridge and prepare for phase 2.
Phase 2: Lelli Hi[]
Level 92 - Boss
Lelli Hi is not too difficult. The biggest things to avoid here are the mines she drops under players' feet when she goes to cloak. These are pretty easy to see, so make sure you watch where you're walking. Lelli Hi cloaks quite often which will break target lock. A way to counter-act this is to create a macro that spams the "/target lelli" command, and loops itself. The mines that she drops explode in clouds of purple smoke which, if you enter them, will cause all your special attacks to go on a 15-second cooldown. Keep up the DPS and debuff her whenever possible to bring her down. If the medics stay on the outer rim of the room and everyone stays away from them, they are less likely to have a mine drop near them and have their specials go onto the 15-second cooldown. As a medic, I have completed this instance numerous times without having a mine set off my special attack timers.

Kimaru
Phase 3: Kimaru[]
Level 92 - Boss
Kimaru is one of the most difficult phases of this Heroic Encounter. Not only does she cause fire rings to spawn that don't despawn until she dies, she also has a Force Shock ability that totally dominates her opponents. It may help to enable the 'show all object names' option from the 'Options' menu (under "Misc" tab) as this will make the Force Storms and Fire Rings Kimaru creates more obvious and easier to avoid. These fields spawn when players stand still so it helps to keep all group members moving at all times during the fight as the fields cause significant damage on contact.
Fortunately for you, both of these monstrous attacks are avoidable. The key to this phase is to keep her on the stairs (as if she is there, its safer for medics to heal without worring about them), but WATCH YOUR STEP, and keep as close as you can of Kimaru so the Fire Rings and Storms dont spread all over the place. There are two things to look out for here—the circles of fire on the ground, and the purple lightning that circles around the room (if you dont see these turn your particle limit up in options under graphics). If you can avoid both, you will avoid most of the major damage during this fight. Melee profs just make sure you don't get led into a fire ring and be sure to avoid the purple lightning if you see it closing on you.
Phase 4: Suin Chalo[]
Level 92 - Boss
Many people overestimate the difficulty of this phase. Suin Chalo spawns minions who are only vulnerable to certain element types. The bright side to this is that each minion has extremely low health and just about each hit you get on them will be a critical. Add to that the fact that Suin Chalo doesn't have much health herself and this phase is a cake walk.
Any players who do NOT have acid, electric, heat, or cold damage weapons should continue to focus ONLY on Suin Chalo herself. Unlike Nandina and Gorvo, Suin Chalo still takes full damage even when her minions are spawned. In no particular order, the minions and their respective vulnerabilities are:
- Ekomal - Acid Damage
- Doum - Electricity Damage
- Oxvul - Heat Damage
- Hur'dem - Cold Damage
As Suin takes damage she will periodically spawn these minions which must be taken down or distracted before they get to your medic(s) and if you don't, they do have a tendency to go straight towards the medics. Thus, it is important that they be attacked immediately when they spawn.
Phase 5: Axkva Min[]
Level 93 - Boss
After a brief discussion between The Eternal Warden and Axkva Min , Axkva will kill the Warden. This means that you can go back into the tunnel if you like (although that might not be a good idea). Also be aware that there is no downtime for this instance except when Axkva is talking to the Warden.


Axkva Min
After that is done, she will no longer charge at your group. Min will continue to stay in the center until someone aggros her. Try to keep some space between each other especially near the end or you will get nuked.
Min (NPC) Axkva Min periodically traps players in Banishment Crystals that deal a good chunk of damage every second. The key to this phase is to destroy the crystals. Banishment Crystals take priority over just about everything else. A player trapped inside a crystal for more than 5 or 6 seconds is practically doomed to death, but they are rather simple to destroy. In fact, the player that is trapped inside of them can attack the crystals and free themselves in a few seconds. Axkva Min herself generally does not hit that hard, but has an Area of Effect attack that will seriously floor you. If you try to get smart and have everyone camp inside the tunnel—which seems like a good idea at first because then AoEs will hit Axkva as well as the Banishment crystals—eventually Axkva will catch on and kill you.
Same plan as usual, keep moving and debuff Axkva whenever possible. Keep an eye out for crystals and attack them as soon as you see them spawn. Jedi should try to trade aggro if possible, because tanking Axkva Min for too long is difficult. Also note that even if you somehow manage to "bug" out of your banishment crystal, it will continue to deal damage to you even though you are not inside it. A well equipped Jedi can static tank her till she drops with no problem provided that there is a good medic in the team that can heal if he gets a bad hit while his heal is on cooldown. This works very well as long as the rest of the team keeps it's distance from the jedi so as to not trigger the group area attack that can drop a whole team. Rest of team needs to be spread out in a loose ring around her but well out of aggro range. Heavy hitter dps professions should limit specials so as to not pull aggro from the jedi. Control the DPS and take her down slow and nobody in the group should even get a scratch except the tanking jedi. Assign one team member to do nothing but clear crystals off other players. The biggest danger is if a team member gets too close to the tank, that will trigger Axkva to fire her area attack. Done right this is a 100% easy way to drop Axkva with no running around like a Bantha on a sugar rush!
If she goes down, everyone in the group and in the instance will get a bonus of +1 to Combat Defense Parry, with a maximum stacked bonus of +10, and an Axkva Min Token of Heroism.
Axkva Min is known to drop any of the following loot:
- ~150,000 credits
- Nightsister Carnage Beret Schematic
- Elegant Combatant's Ring
- Gilded Combatant's Ring
- Juyo Saberstaff Schematic
- Nightsister Energy Lance Schematic
- Fancy Combatant's Ring
- Axkva Min Claw Lamp
- Axkva Min Ceiling Claw
- Axkva Min Crystal 1
- Axkva Min Crystal 2
- Axkva Min Crystal 3
Heading sign on the Chamber of Banishment says the following in Aurebesh:
Axkva Min
Entombed for crimes
against her sisters