<< Previous Quest: Rescue Operation
Level: 42
Reward: 25920 XP
Description:
- When you arrived at the crash site there were no passengers. Apparently they have already departed in an attempt to reach Nashal. Catch up to the crew and help them in any way you can.
|
|
Recommended combat levels: 45 and higher |
Find the Survivor's Camp[]
Having killed those nasty creatures, you are told to search for the camp of the crew members. You are given the waypoint by CorSec agent Taarna.
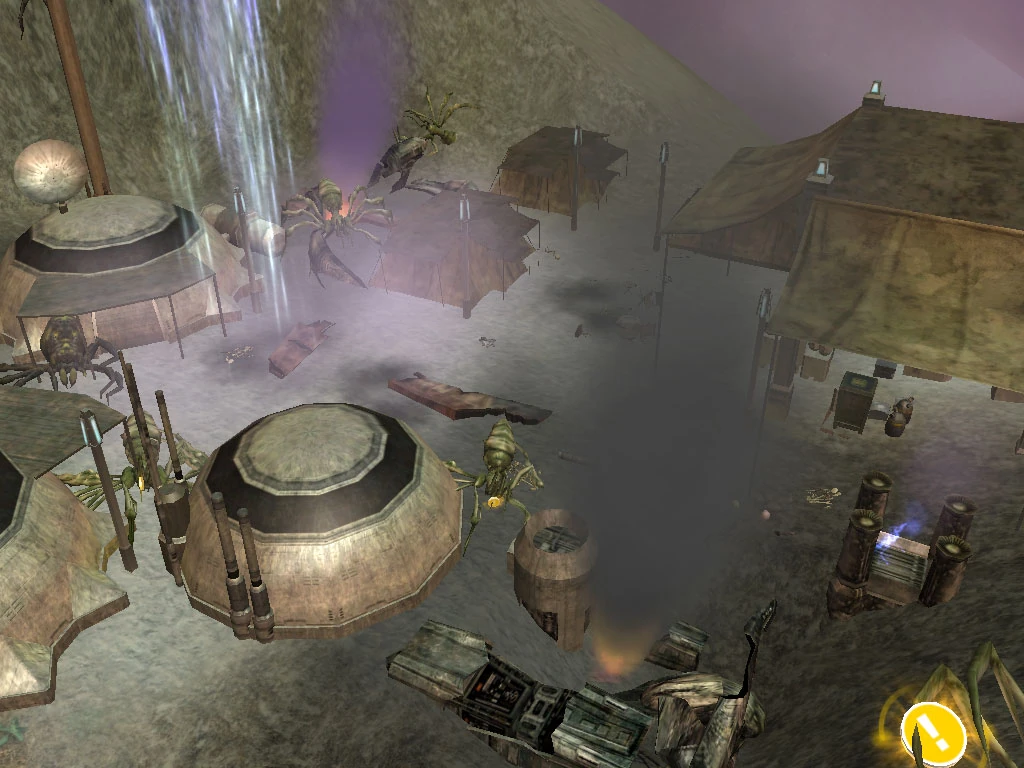
Survivor's Camp.
Go to the waypoint where you will find the camp (/way 6611 7318) crawling with Brood II Aurek Arachne and Brood II Arachne which are even bigger than the Brood I creatures.
CorSec agent Taarna: You don't see the survivors anywhere in the camp, then? Ok. Take care of the creatures and search the camp for any information concerning the creatures or the survivors.
There are spiders all over the place, so be prepared for attack. Some believe it's a good idea to kill spiders near the objects you are looking for before you click on them, so they won't attack you while you're accessing the objects. Others prefer to wait for the spiders to move out of the area, considering how mind-numbing killing all these spiders can be. Choose the method that's most consistent with your gameplay.
Destroy the Creatures Infesting the Camp[]
Upon arrival, you are asked to rid the camp of those giant arachnes. You have to kill six Brood II Aureks and twelve Brood II Arachnae to complete this part of the quest.
Note to Jedi: The poison of the Brood II Arachne seems to prevent self-healing from working the majority of the time.
Check the Camp for Clues[]
First, click the Scientific journal.
/way 6620 7325 Scientific journal;
Scientific Observations[]
Journal Entry 3.58.744: The nymph arachne have completed their first molt. I have recorded brood II characteristics in many of the creatures seen near the camp; they have started to exhibit their new special attack features. The ship's crew are doing their best to protect us and the wounded, but every night the arachne take one or two more of them. Captain Narl has issued tracking emitters for everyone to wear. One of the behavioral engineers complained that it really wouldn't make a difference, but for the most part everyone knew why we are wearing the emitters.
Find A Tracking Device[]
Next, click the Tracking device.
/way 6603 7307 Tracking device;
Find the Password[]
Next, use the tilde (~) key on the CV-4T droid head and select "Converse" from the Radial Menu. You cannot interact with the droid head simply by clicking it.
/way 6626 7318 CV-4T droid head;
Conversation with CV-4T[]

CV-4T droid head
CV-4T: Shoo! Shoo! Beastly creatures! Oh no, I've been bit!
PC: Are you functional?
CV-4T: I believe so, %TO. You must leave immediately. There are terrible creatures here!
PC: I know. So you have to talk fast. Where are the crash survivors?
CV-4T: They left for Nashal, %TO. They planned to make camp at coordinates 6037, 7023. The rest of them went in search of the missing crew. I don't know where they are, but I remember the captain making everyone wear tracking emitters. He gave me the password for the tracking device for safe keeping, but I seem to have misplaced the device.
PC: Listen to me. I need to know the password for the tracking device.
CV-4T: The password?
PC: Yes, hurry. I need it so I can save your owners from the creatures.
CV-4T: Yes, of course, %TO! The password is AX5TT17.
PC: Thank you.
CV-4T: Good luck, %TO.
Use the Password on the Tracking Device[]
Finally, return to the Tracking Device.
Investigate the Tracking Device Coordinates[]
The coordinates will lead you to a cave guarded by lots of giant spiders.
Kill the Creatures Guarding the Cave[]
You now have to kill sixteen Brood II Arachnae (CL 41) and eight Brood II Aurek Arachnae (CL 42).


A Mysterious Cave
Seriously consider doing the majority of your killing inside the cave, where the spiders move less (and in most cases, not at all), giving you a better guarantee of confronting a single creature at a time.
However, note that the respawn time in the cave is VERY short. You will likely only proceed down to the first Aurek before you should return to the cave mouth to repeat the process. Doing this four or five times should yield you the majority of the kills you need... plus you're already in the right area to go on to the next section.
For a highly conservative method of killing the Aureks, once you've accumulated your regular Brood II kills, simply camp out at the overlook at the end of the first tunnel and wait as the static Aurek respawns every 120 seconds or so.
While you're waiting there, if you get all the way to the edge of the overlook, and look down and to the right, you'll see an intermittently-flashing yellow light. That's your datapad.
Find the Crew[]
Search the cave to find the survivors. You won't find anybody in the cave though, with the exception of lots of giant spiders and a datapad located at (/way 6957 7389), which sends you on to the next part of the quest.
/way white 6957 7389 Datapad;
Following Quest: Evolution >>